How to Create DID & assign it to specific User in ICTFax
How to Create a DID and Assign It to a Specific User in ICTFax
DID (Direct Inward Dialing) numbers receive incoming faxes in ICTFax. The admin adds DIDs to the system pool, assigns them to tenants or users, and configures Fax-to-Email forwarding. This guide covers the full workflow for both DIDs and CIDs (Caller IDs).
Table of Contents
- 1. Add a New DID Number
- 2. Assign a DID to a User
- 3. Configure Fax-to-Email Forwarding (My DIDs)
- 4. Add and Manage CID Numbers
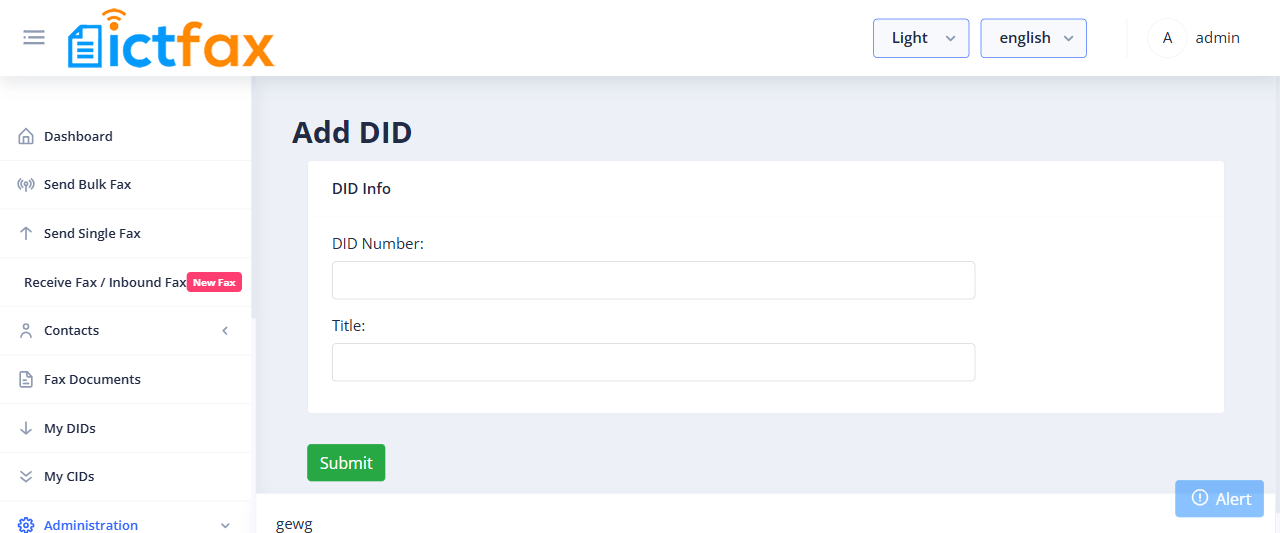
1. Add a New DID Number
Only admins can add DID numbers to the system. Once added, DIDs can be assigned to any tenant or user.
- Log in as Admin and go to Administration > DID Number.
- Click Add DID in the top-left corner.
- Enter the DID number and a title, then click Submit to save.
The new DID appears in the DID list. You can also click Create DIDs in Batch to add multiple numbers at once, or use Import CSV Data to bulk-import from a file.
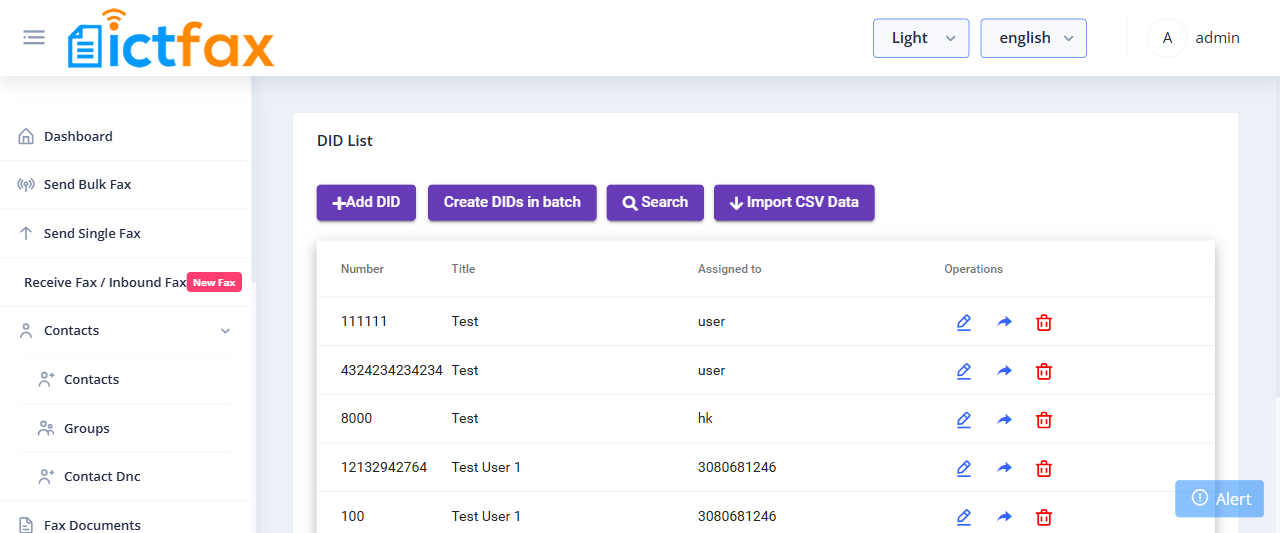
2. Assign a DID to a User
After adding a DID, assign it to a specific user so that user receives incoming faxes on that number.
- Go to Administration > DID Number.
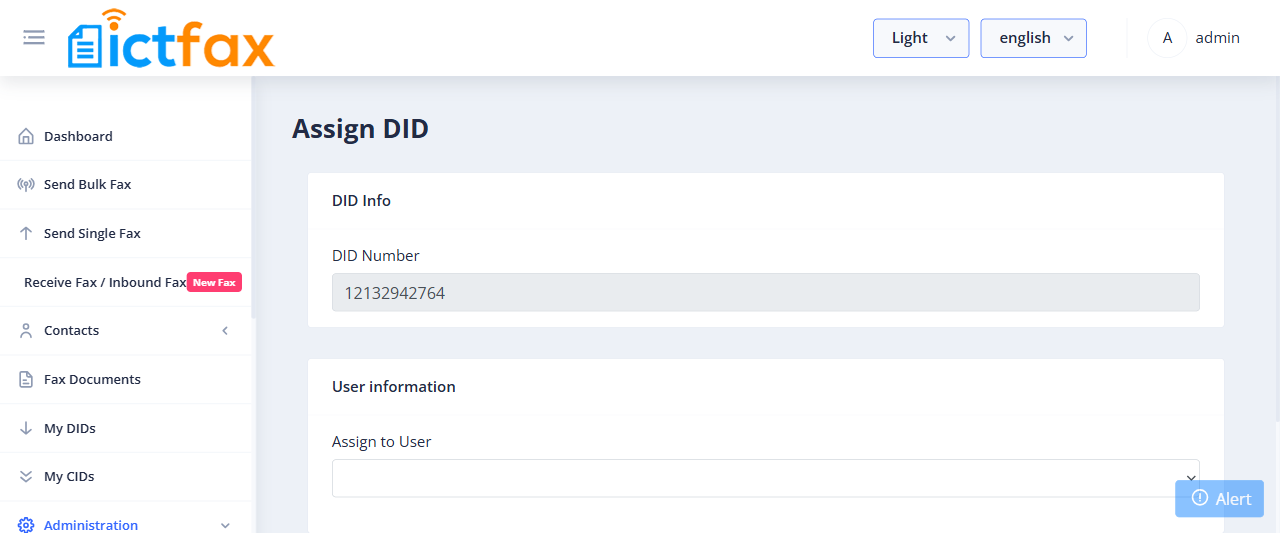
- Find the DID you want to assign and click the assign icon (forward arrow) in the Operations column.
- Select the target user from the dropdown, then save.
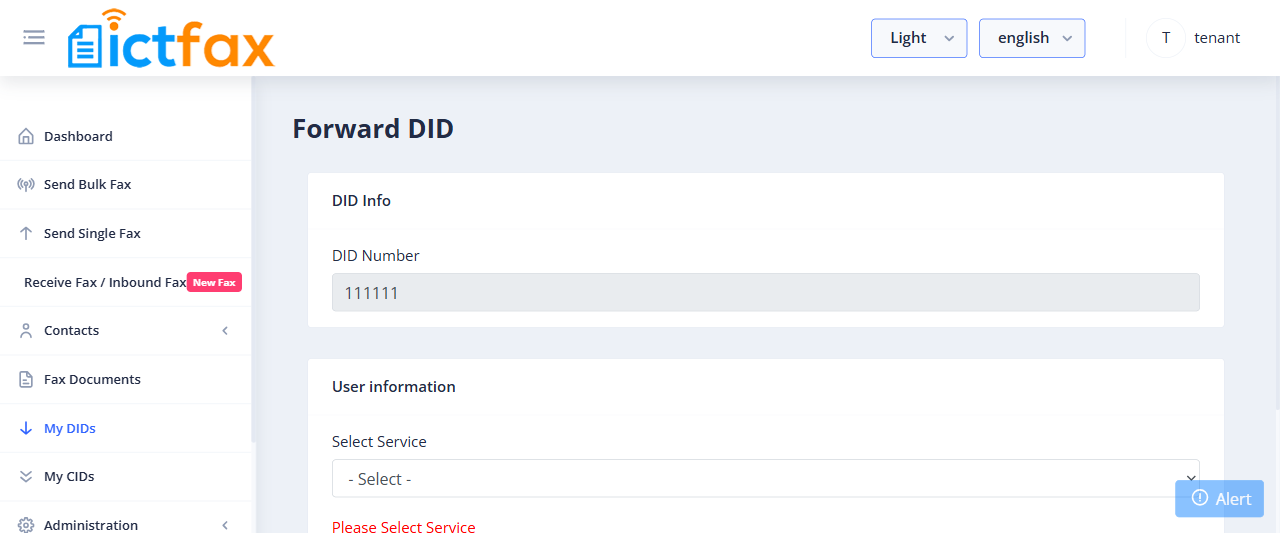
3. Configure Fax-to-Email Forwarding (My DIDs)
Once a DID is assigned, the tenant or admin can set up Fax-to-Email so that every incoming fax on that number is automatically forwarded to an email address.
- Go to My DIDs.
- Find the DID and click the forward icon in the Operations column.
- Under Forward DID, select Fax to Email.
- Enter the destination email address and save.
From this point, any fax received on that DID is forwarded to the configured email and also appears under Receive Fax / Inbound Fax.

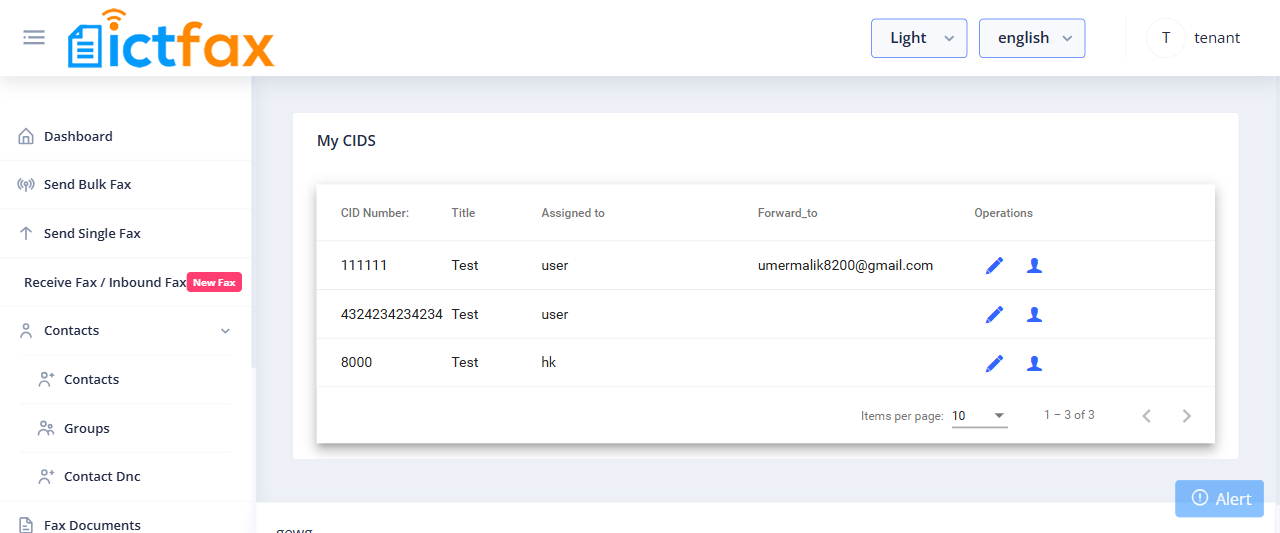
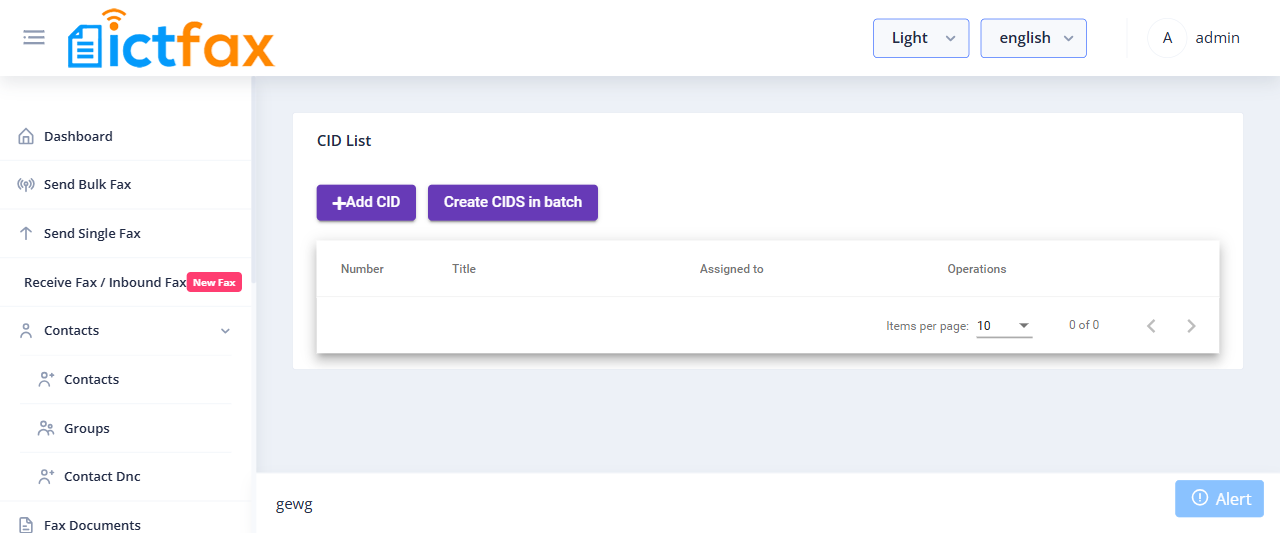
4. Add and Manage CID Numbers
CID (Caller ID) numbers are the outbound numbers shown to fax recipients when you send a fax. The admin manages the CID pool under Administration > CID Number, and tenants can view their assigned CIDs under My CIDs.
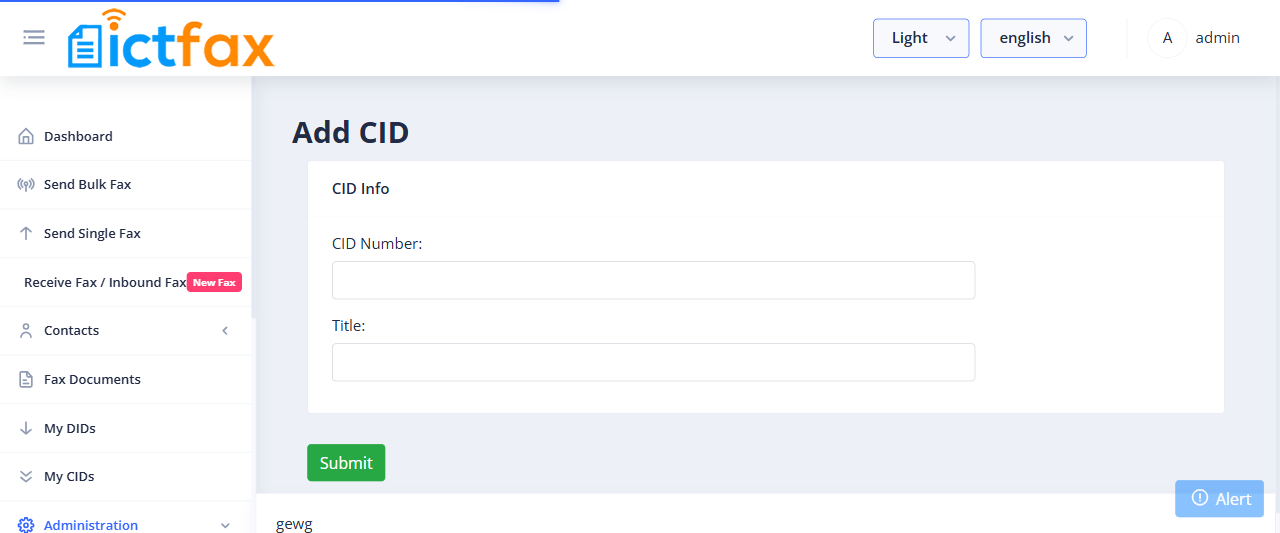
Add a CID Number (Admin)
- Go to Administration > CID Number.
- Click Add CID.
- Enter the CID number and label, then save.
View Assigned CIDs (Tenant / User)
Tenants and users can see their assigned caller IDs under My CIDs. Select one of these when sending a single fax or setting up a campaign.