Guide For Creation of Tenant & User with Permissions
1) How to Create a Tenant:
Following are the steps below to create a new tenant in ICTFax:
- Login to ICTFax portal through admin
- Select the main menu “Administration”
- Select the sub menu “Tenants” under main menu and click on it
- Click on Add Tenant button from top left side
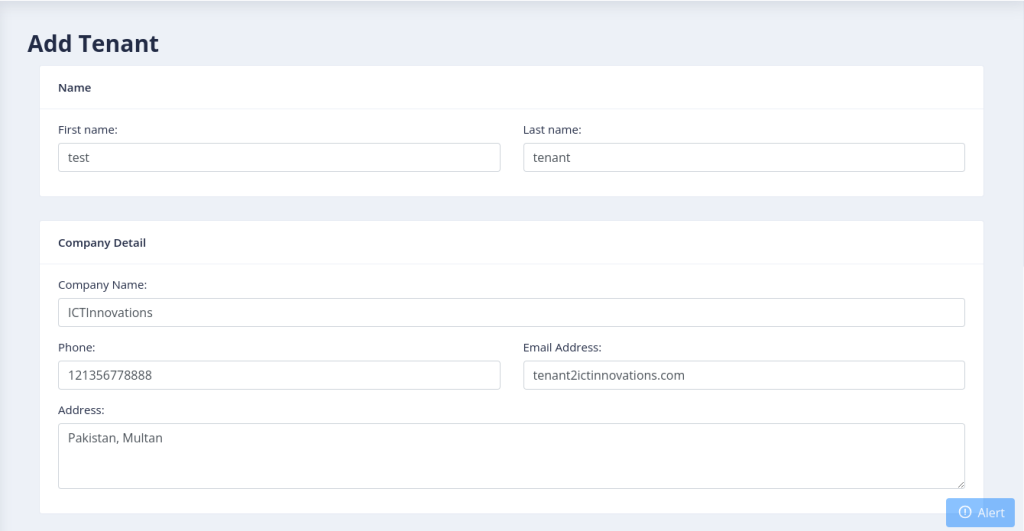
- page opens, where admin will enter the required information in desired fields.Name = Enter the Tenant’s first name & last nameCompany Detail = Enter the company name, phone number, Email and Address related to tenant.
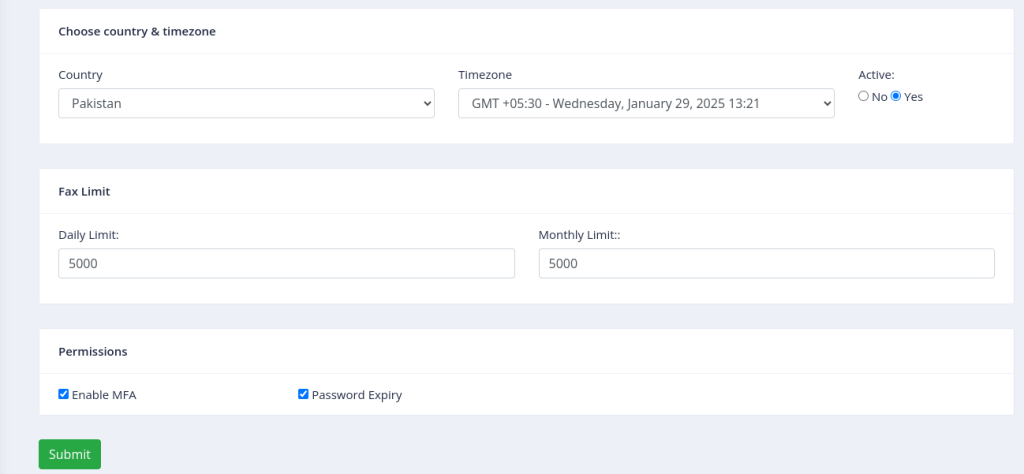
Choose country & timezone = Select/Choose the country & country timezone according to tenant. Also select the “Active” as yes.

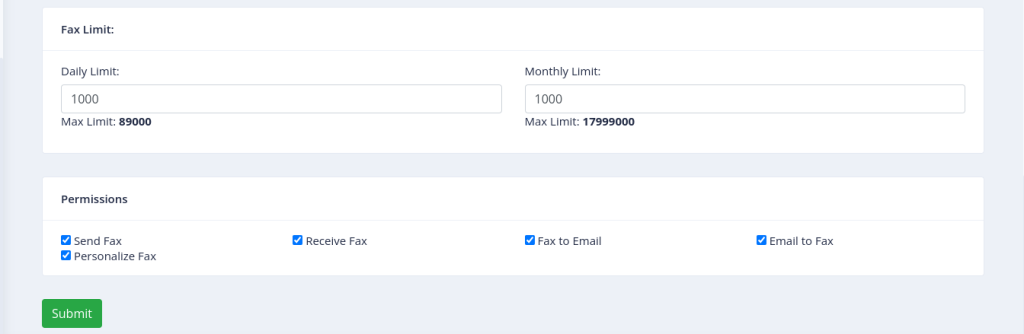
Fax limit = Admin sets the daily and monthly fax limits for tenants based on their package needs. Tenants can then allocate their fax quota to users as required. For instance, if the admin assigns a daily limit of 500 faxes, the system will display an error message of “Fax limit exceeded” after that limit is reached.
Permissions = Admin can assign the mentioned permissions to tenant
Enable MFA = ICTFax supports MFA for tenant/user security. Admins can enable MFA for tenants, allowing users to log in to their portals using MFA methods. Users can select their preferred MFA method during their first login and will use that method for subsequent logins.
Password Expiry = Admins must enable the password expiry permission for a tenant to ensure users receive email notifications when their passwords are about to expire. After setting the password expiry and notification days, alerts will be sent to users within that tenant who have the permission.
- After that click on submit button to save the tenant.
2) How to Create a User:
Following are the steps below to create a new user in ICTFax:
- Login to ICTFax portal through admin/tenant
- Select the main menu “Administration”
- Select the sub menu “User management” under main menu and click on it
- Click on Add user button from top left side
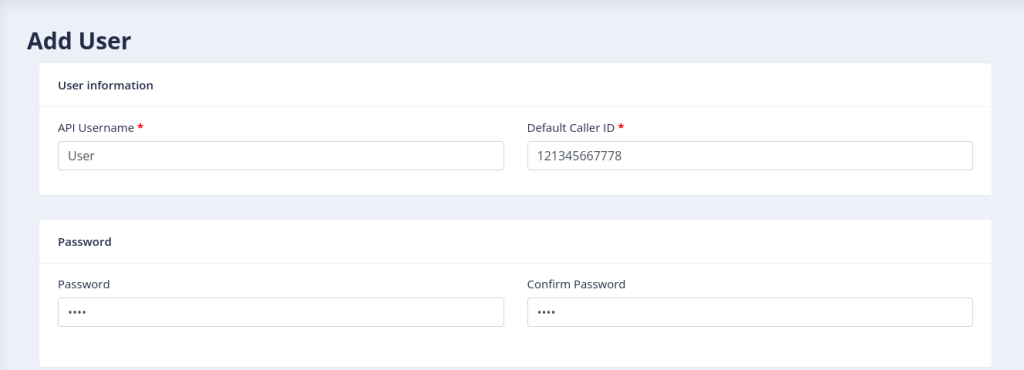
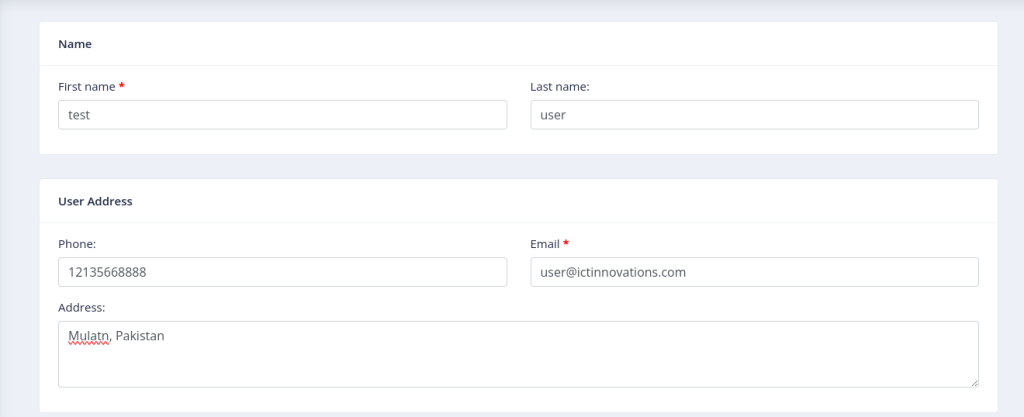
- page opens, where admin will enter the required information in desired fields.User information = Enter the username & Default Caller ID. This caller id will use for sendfax and email to fax.Password = Enter the login password & confirm the password again.
- Name = Enter the user’s first name & last name
User address = Enter the phone number, login email and Address.
-
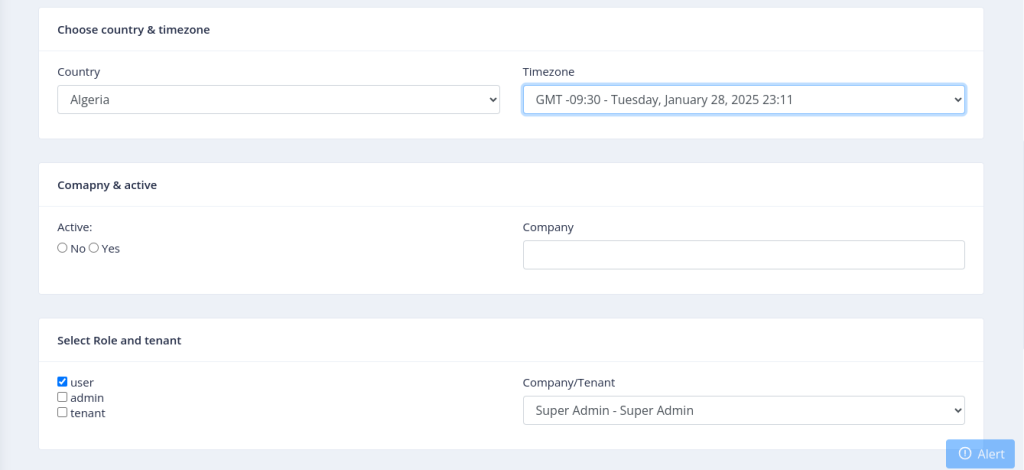
Choose Country & Timezone = Choose the user’s country and timezone
Company & active = Select the active-status as yes & enter company name if need
Select role & tenant = Select the role as admin/user/tenant & select the tenant under which this user will add and use its resources and quota limits.
-
Fax limits = Admin/tenant assign the daily and monthly fax limits to user from his tenant’s fax quota . Tenants can then allocate their fax quota to users as required. For instance, if the tenant assigns a daily limit of 100 faxes, the system will display an error message of “Fax limit exceeded” after that limit is reached. The user will have to contact to his tenant for fax limit exceed.
Permissions = Admin can assign the mentioned permissions to tenant:
Send fax = if admin will not assign the send fax permission then user will not able to send fax from his panel and send fax fax menu will not show to him.
Receive fax = if admin will not assign the receive fax permission then user will not able to see the received faxes in his panel.
Email to fax = if admin will not assign the email to fax permission then user will not able to send fax through his email.
Fax to email = if admin will not assign the fax to email permission then user will not able to received fax on his email & DID number.