Guide For How Hipaa Compliance/Encryption and Retention works in ICTFax
How HIPAA Compliance, Encryption, and Fax Retention Work in ICTFax
ICTFax protects sensitive fax data through two mechanisms: end-to-end encryption (for HIPAA compliance) and automatic retention-based deletion. This guide explains how the admin enables both, and how tenants configure their retention period.
Table of Contents
- 1. Enable Encryption for a Tenant (Admin)
- 2. How Encryption Works
- 3. Enable Fax Retention for a Tenant (Admin)
- 4. Set the Retention Period (Tenant)
- 5. How Retention Works
1. Enable Encryption for a Tenant (Admin)
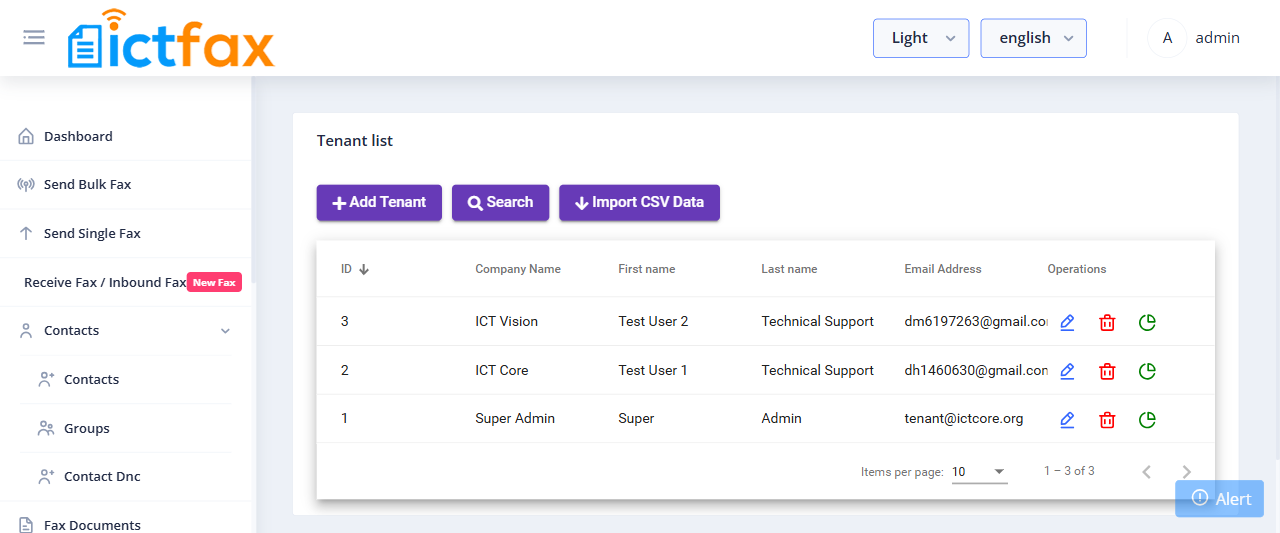
- Log in as Admin and go to Administration > Tenants.
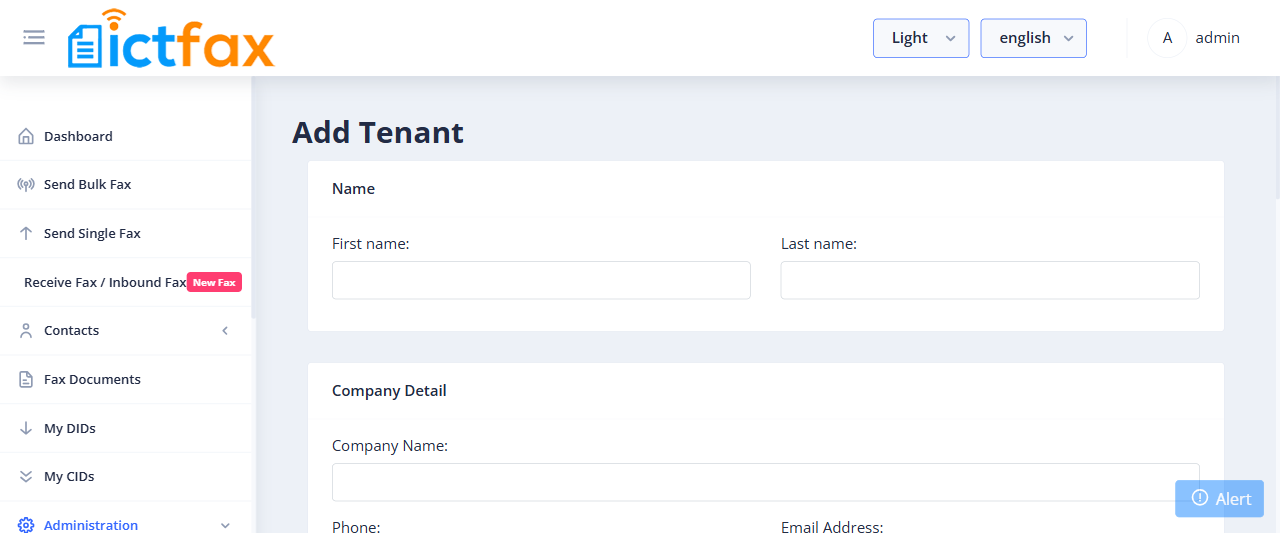
- Click Add Tenant (or edit an existing tenant).
- In the Permissions section, enable the Encryption permission for this tenant.
- Click Submit to save.
2. How Encryption Works
When the admin enables encryption for a tenant, ICTFax encrypts every fax document belonging to that tenant and its users. The system uses the admin account credentials plus a randomly generated token to encrypt the files.
Important: If the admin later changes their account credentials or password, ICTFax can no longer decrypt previously encrypted faxes. Those documents become permanently unreadable. Do not change admin credentials after enabling encryption without first migrating or exporting fax data.
All fax documents are stored encrypted on the server. Only authorized users within the same tenant can download and view their own decrypted files through the portal. Even system admins cannot open encrypted fax files from the server directly.
If User 1 and User 2 belong to the same tenant, they still cannot access each other’s documents. An admin can download files belonging to any user but cannot open them — the content is encrypted and accessible only to the user who owns it.
3. Enable Fax Retention for a Tenant (Admin)
The admin sets a retention window for each tenant by defining minimum and maximum day limits. The tenant then picks their actual retention period within that window.
- Log in as Admin and go to Administration > Tenants.
- Click Add Tenant (or edit an existing tenant).
- In the Permissions section, enable the Retention permission.
- Set the minimum and maximum retention days for this tenant.
- Click Submit to save.
4. Set the Retention Period (Tenant)
Once the admin enables retention for a tenant, that tenant can choose their own retention period within the allowed range.
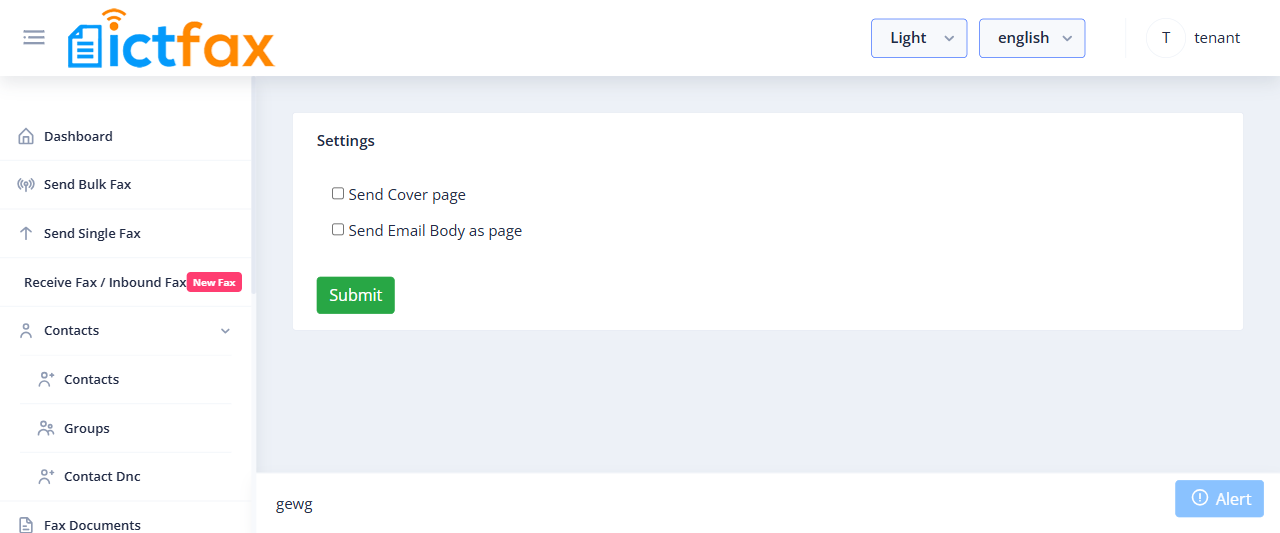
- Log in as Tenant and go to Configuration > Fax Settings.
- Select the number of retention days from the dropdown. Only values within the admin-defined minimum and maximum appear.
- Save the setting.
 5. How Retention Works
A scheduled cron job checks the creation date of every fax record against the tenant’s configured retention period. Any fax older than the retention period is automatically deleted from the system.
For example: if a tenant sets a 3-day retention period, the cron job deletes all fax records older than 3 days for that tenant and their users.
If a tenant has not set a retention period, the cron job defaults to the maximum retention days the admin specified for that tenant.
Inbound faxes: when a user downloads an inbound fax document, the portal shows a confirmation popup asking whether to delete the document. Clicking Delete permanently removes the fax record and file immediately, regardless of the retention period.